Instead of trying to tackle all the skins at once, I am going to do a lesson by lesson instruction of the different skin that I have customized and different lessons learned from customization. For a review, you can refer to the last blog post by opening up ePublisher and viewing the first customization post. Even though I faithfully stayed to the color-wheel last week. I am going to shake it up a bit and use the four following colors for simplicity: fuchsia, black, white, and hot hot pink, aka rgb(230,57,155)
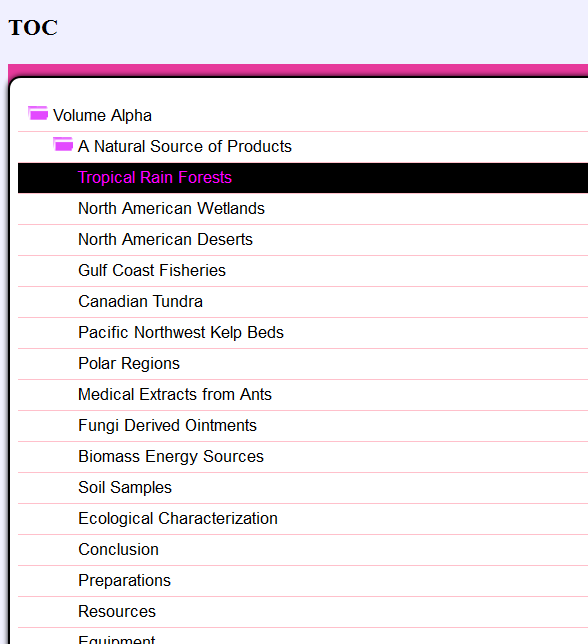
Most of the items can be customized with the skin. As an aside, I just wanted to let you know that I took a long time in getting everything figured out because there are many items to consider. I played it fast and loose with the customizing, so as a lesson, it is always good to have the idea of what your colors are already going into the design, so you aren’t doing a bunch of changes later. If you want to keep your color scheme limited to a few colors, you have to consider things like hover and the icons. For instance, we have a grey folder that is located on the side bar, well I wanted to change this to black, unfortunately, with the black hover that I had specified. I had to change the folder icon on the TOC to reflect the fuchsia so that you could see it when you hover over the TOC entry. You can easily do this in a program like Fireworks* by double-clicking the skin.fireworks.png and using the paintbucket or paint tool to color in the toc expand and collapse icons to whatever color you want. You will want to save this file as skin.png and then you can view the Skin.html file from the interface:
I couldn’t quite get the bubble effect of the social skin to look right without it being white, so I simply kept the index, TOC, and search fields preserving this white color. Mostly this is just a matter of changing the CSS. One thing that I have found helpful if I forget what CSS style to use is to do an “Inspect Element” using Firefox or Chrome (Sorry IE and Safari users!). You can right-click on any item in the Skin.html, click “Inspect Element”, and it will show you what CSS class to use, and then you would just do a Ctrl+F to find this in the skin.css. You will do most of your work in skin.css. The exceptions are the links in the search panel and the styling for the mini-TOC and the related topics.
Fortunately, the social skin is pretty easy to configure just basically divide and conquer everything in the Skin.html file. There are no gradients, just matching the hovers and the toolbar skins. I am updating the source I used for the project as well as this Skin zipped up. For practice, you will want to integrate this into your own Targets directory. Click here for the Wiki page that will have the sample and the skins that I will be demonstrating this week!